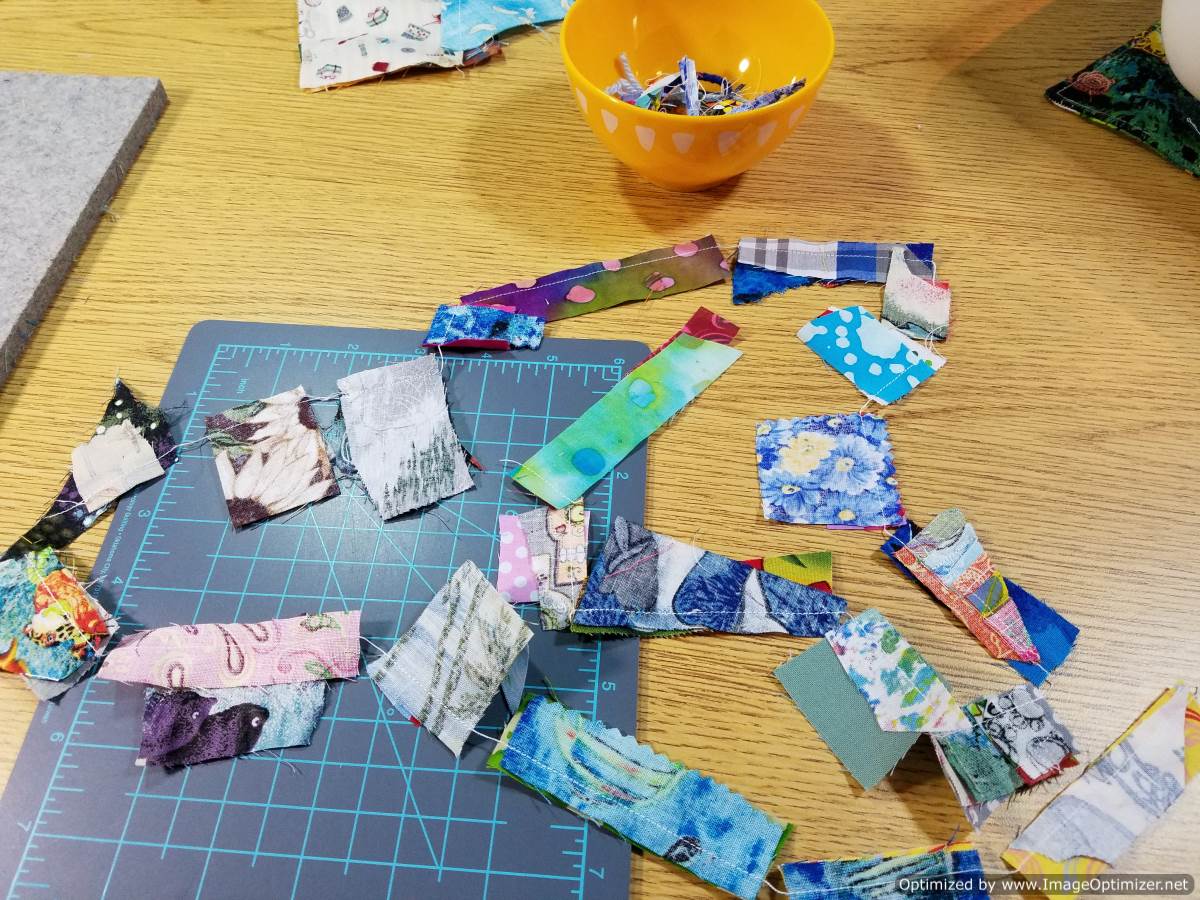
Place a handful of scraps on your work table. These are scraps that most quilters would toss in the trash because they are too small to do anything with.

Select some pieces to work with

Start matching up several sets of 2 pieces. (This is great to do after a long day at work when you don't have time to do any sewing but you want to breathe in some fabric and touch it to make your heart sing) Just one quick pin so that when you have time to sew, you can just chain piece. What did I start with here....18-20 pinned sets? (Now I typically don't pin these as I don't have pets or little ones around to mess them up, I just put them together and lay them on top of each other) Feel free to pin though, sometimes it makes me feel as if I've accomplished more. :-)

Chain Piecing is complete. Time to iron
Multiple sets of 2 pieces ironed

Using the same sets as in the previous photo, you are going to pin 2 sets again. You may need to clean up 2 edges so that you can pin them together in whichever way you choose. (On the long end or short end, turned ever which way will fit.) Alternative, if you don't like any of these pieces next to each other, you can always throw another scrap piece into the mix, I'm just showing what you can do with one small bunch of scraps.

Chain pieced the sets once again. You can see the number of pinned sets has diminished.

Now time to iron. You can see my yellow bowl has been added to by some pieces cut off when I square it up to add to another piece.

Pin 2 sets again. Down to 5 pinned sets. :-)

Chain pieced and ready to iron.

Ironed and ready to piece more sets together.

Down to 3 pinned sets, although I did end up sewing the 2 pieces on the left of the picture together on the short end

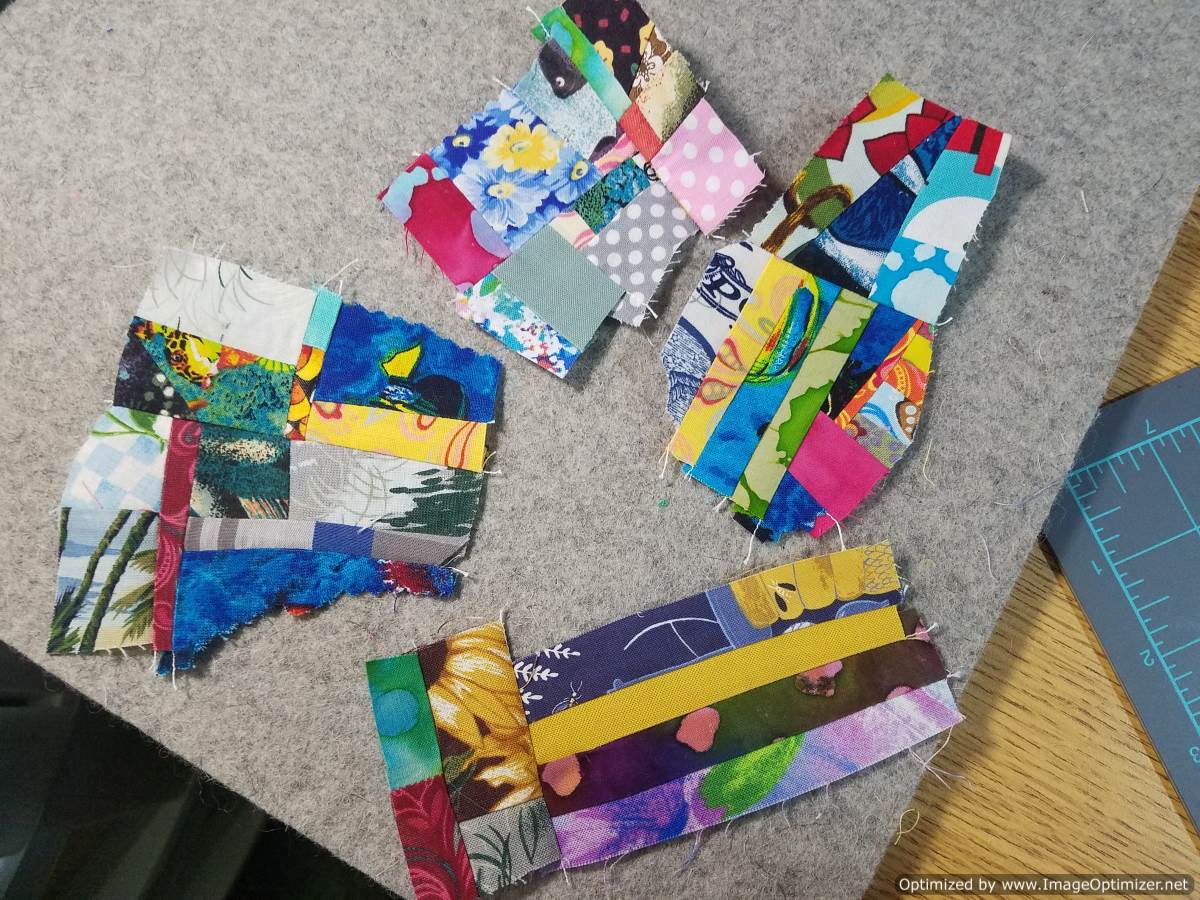
You can see the pieces are growing.
The edges are a little ragged, so I'll have to decide where I'm connecting 2 pieces together and then I'll have to straighten them up.

The 2 edges are now relatively straight and ready to sew to each other.

So now all the pieces I started with are connected as one piece of fabric. Since I'm using a 6 inch ruler to square up my blocks, I'm measuring to see if it's big enough.

Not quite big enough so I'll have to make another batch of pieces to attach to this piece and then I can sew them together and I'm able to place my ruler where I want.

So now my ruler works and I can place it where I want and cut the square. The pieces I cut off will be added to a new square that I start. (reminds me of the sourdough bread starter)

Voila, I have 2 squares made in under and hour.

Here are the pieces cut off to start a new square. It's a never ending process and my little yellow scrap bowl gets a little more filled and then I can do the other method of making my own fabric with the Sulky and thread.

Pin 2 sets together and start all over. :-) Having so much fun!!

If 2 pieces don't work together (size, shape, etc) just put them aside and you'll eventually get one you like to pair it with, or don't be afraid to use that rotary cutter and cut some fabric away from a piece to make it work. It's freedom, truly it is!!!!!! Hope this helps.
At the end of the day spent in my hobby room, my little yellow scrap bowl is full. Some days I actually empty it 2-3 times.

I have a follow-up post on what I do with these little bits, called the little yellow bow of scraps.
Hi, meadowfibres. Ceecee here. This is a great tutorial. I have never saved pieces this small!
ReplyDeleteNow, I have the Stashtastic book and she gave good ideas with those small scraps. I'm making apples and snippet monsters from those
ReplyDeleteVery helpful! I’m a newbie crumber... tons of scraps from sewing face masks. Your tutorial is inspirational!
ReplyDeleteUse the scraps in the little yellow bowl as stuffing in doll pillows, lawn blanket quilts, and dog crate denium pads
ReplyDelete